For my June project, I decided to create a couple of apps: An MGS V countdown timer, and an MGS V desktop clock. If you're a huge fan of Metal Gear Solid like I am, you'll be happy to download these two. Download now!
The projects
Metal Gear Solid is one of my biggest passions. I've now been waiting for MGS V to come out ever since the rumors of this "Project Ogre" that Hideo Kojima was working on. Every time a new trailer is released or new information is announced, I dedicate some quiet time to take it in fully. As a matter of fact, I'm literally taking a week off from work when MGS V comes out September 1st. I don't want to scroll through Tumblr one day and find some kind of spoiler that would ruin the experience for me. So that's my relationship with MGS.
Speaking of Tumblr, the inspiration for these two clocks came from the website widget that thatkindoffangirl, on Tumblr, created. You can see it embedded and working (as of the time of this writing) to the right. Obviously, the difference is that hers is meant for websites, whereas mine is meant to be used as a desktop program. My program reminds me more of the old Otacon clock widget that came out with MGS 4, remember that?
I'll dive deeper into how much I love Metal Gear Solid, why I love it that much, and more later on, but for now, I'll talk a bit more about this specific project.
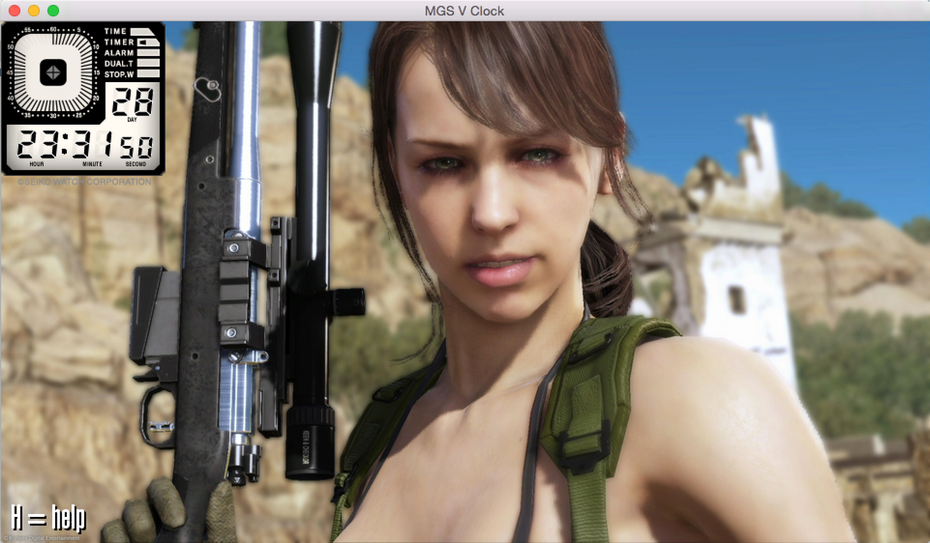
The programs use the Seiko watch that Big Boss used in the E3 2014 gameplay demo (12:19). I use the past tense because it looks like Kojima changed the design of the watch that Big Boss will be using to the new version that they made specifically for The Phantom Pain. You can see this in the E3 2015 gameplay demo (19:40). Oh well.
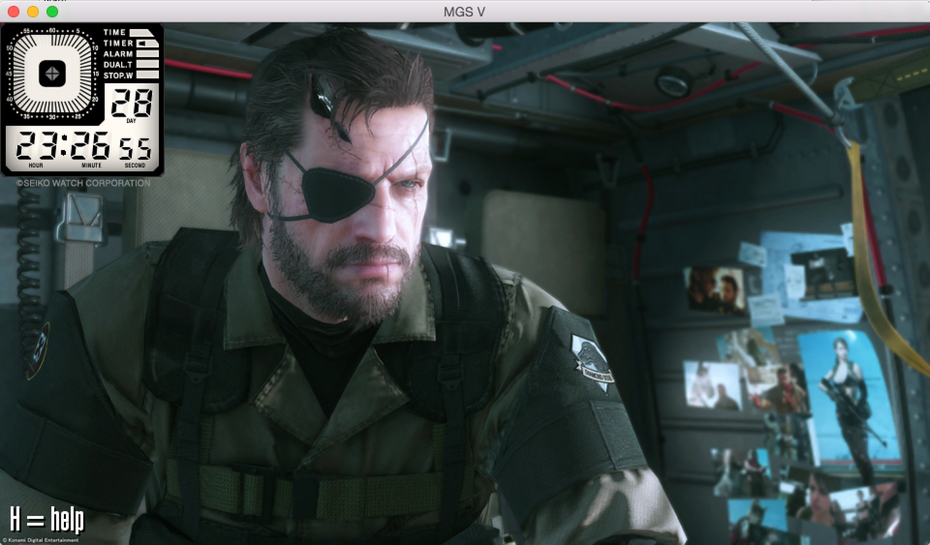
For those of us who are so eagerly awaiting this incredible game, I thought it'd be awesome to add a few more features. For one, I thought it would be cool if there were random images from the game that showed up every now and then. I downloaded a bunch of screenshots (38, to be exact) from the Metal Gear Solid website and used those. The clock will change pictures every 30 seconds.
Another feature that I'm excited about is the ability to change the size of the clock. Don't want huge images taking over your screen? No problem! Simply press "w" and the screen will resize from 960 x 540 to 170 x 190. The smaller view will also take up a lot fewer resources on your computer as well, in case you're on battery power on a laptop.
Development on the MGS V timer and clock
Development on the clock was fairly easy. I wasn't 100% sure how to use time in C++, but after a quick Google search and about five minutes of reading, I had a simple cout statement outputting the time. The next step was adding the different parts of the clock itself, which is made up of about five or six images. Once the images are in, the next step is to rotate through the sprites of the numbers and of the clock's second hand.
The files for both projects are extremely similar, with the exception of an added class for the countdown timer that converted unix time into days, hours, minutes, and seconds. I figured I could have just used the <ctime> header and built-in functions, but I didn't mind doing some of these myself.
When it came to the actual writing of the code for these, it was fairly easy. What took a while this time was wrapping it all up in Xcode. Specifically, I couldn't remember how to add the app icon to the output! For both our benefit, here's what to do when you're ready to export your app:
- Create your app icons if you haven't already. You'll want to create two versions: 512 x 512 (for retina displays) and 256 x 256. Name these [email protected] and icon_256x256.png, respectively. Add them to your project folder.
- Head over to File > New > File > OS X > Resource > Asset Catalog. Move this folder into your Resources folder in your project once it has been created. Click it.
- Click the plus sign at the bottom and choose "New App Icon." Click this when you see it in the middle panel.
- Drag your icon files into the holders on the right, into "Mac 256pt" into 1x and 2x.
- This is the step that kept messing me up: Click the project file on the top left (a), and then you'll click the panels options button thing(b). This will allow you to choose "Targets" (c) instead of "Project." Once you click that, scroll down to App Icons (d), and in the dropdown, choose "Use the assets catalog," (e) or something like that, and choose the one we created in step 3 (f). Refer to the image below.
- Click Product > Clean, just to clean up all the files and make sure that Xcode will use the new, updated versions. Head over to Product > Archive. Once it's done, choose the Export option on the right, choose the option at the bottom (Export as a Mac Application) for the fastest way, and then press Next. Choose where to save it, and save.
That's all there is to exporting an app out of Xcode. It's a bit confusing, but once you see your app icon when the app is exported, it is an amazing feeling.
I hope you enjoy my June project. As always, you can grab a copy for your Mac (Windows coming later, hopefully) via the Downloads page. Share these with your friends and all that good stuff. Do let me know if you have any questions about this app icon stuff, or about how I did any of these things.